

 Camera setup
In this section, you will learn how to properly setup cameras in NDunes for your photomontages.
Note:
If you have questions about the general usage of Cameras in NDunes please refer to the corresponding documentation page : Controlling the camera
Create your camera
On NDunes toolbar, click on the "Create a new camera" icon

Configuring the camera & its position
Open your camera and search for the GPS coordinates section. You can use the Latitude and longitude position your camera in NDunes so it will correspond to the real life position of your camera you used to take your photo with.

In the Overlay section, you can import an overlay in the form of a photo that will appear on top of your camera view.

- The "Image" parameter is where you will open your photo.
- "Is environment map" is used to calculate a 360° image and map it accordingly.
- You can configure the opacity of the overlay image with the "Opacity" parameter.
- The "Edges" parameter will show detected edges from the photo.
Tweaking the camera for 2D photomontage
For a 2D image photomontage, you will need to convert your real life camera parameters like focal length, aperture, field-of-view. You will need to get a FOV (Field of View) value and your focal length. you can then input your values to the corresponding parameters in NDunes.

Now you will need to tweak the view and/or position so that the photo corresponds as much as possible to the NDunes scene. To do that, you can reduce the "Opacity" value so that you see the 3D model but also the overlay image. Then you can use the "Fly camera" to move your view.
Note:
For more info about the Fly camera and how to properly use it, please refer to the Camera Fly mode page.
Configuring the camera & its position
For 360 images, adjustments require a bit more fine-tuning. You can use the "Pin the overlay environment map to align camera" to position the 360° image correctly and to have it correspond the NDunes landscape.
Note:
For more info about the "Pin the overlay environment map to align camera" function, please refer to the Camera parameters page.

You can change the roll rotation of the camera to adjust your 360° photo if it has a light rotation mismatch.
Note:
You can fine tune the Fly mode parameters such as "mouse sensitivity" and "rotation speed". For more info about this, you can visit the UI Options page.
Mask previews
You can also preview the masks of geometries and plants directly in NDunes in realtime.

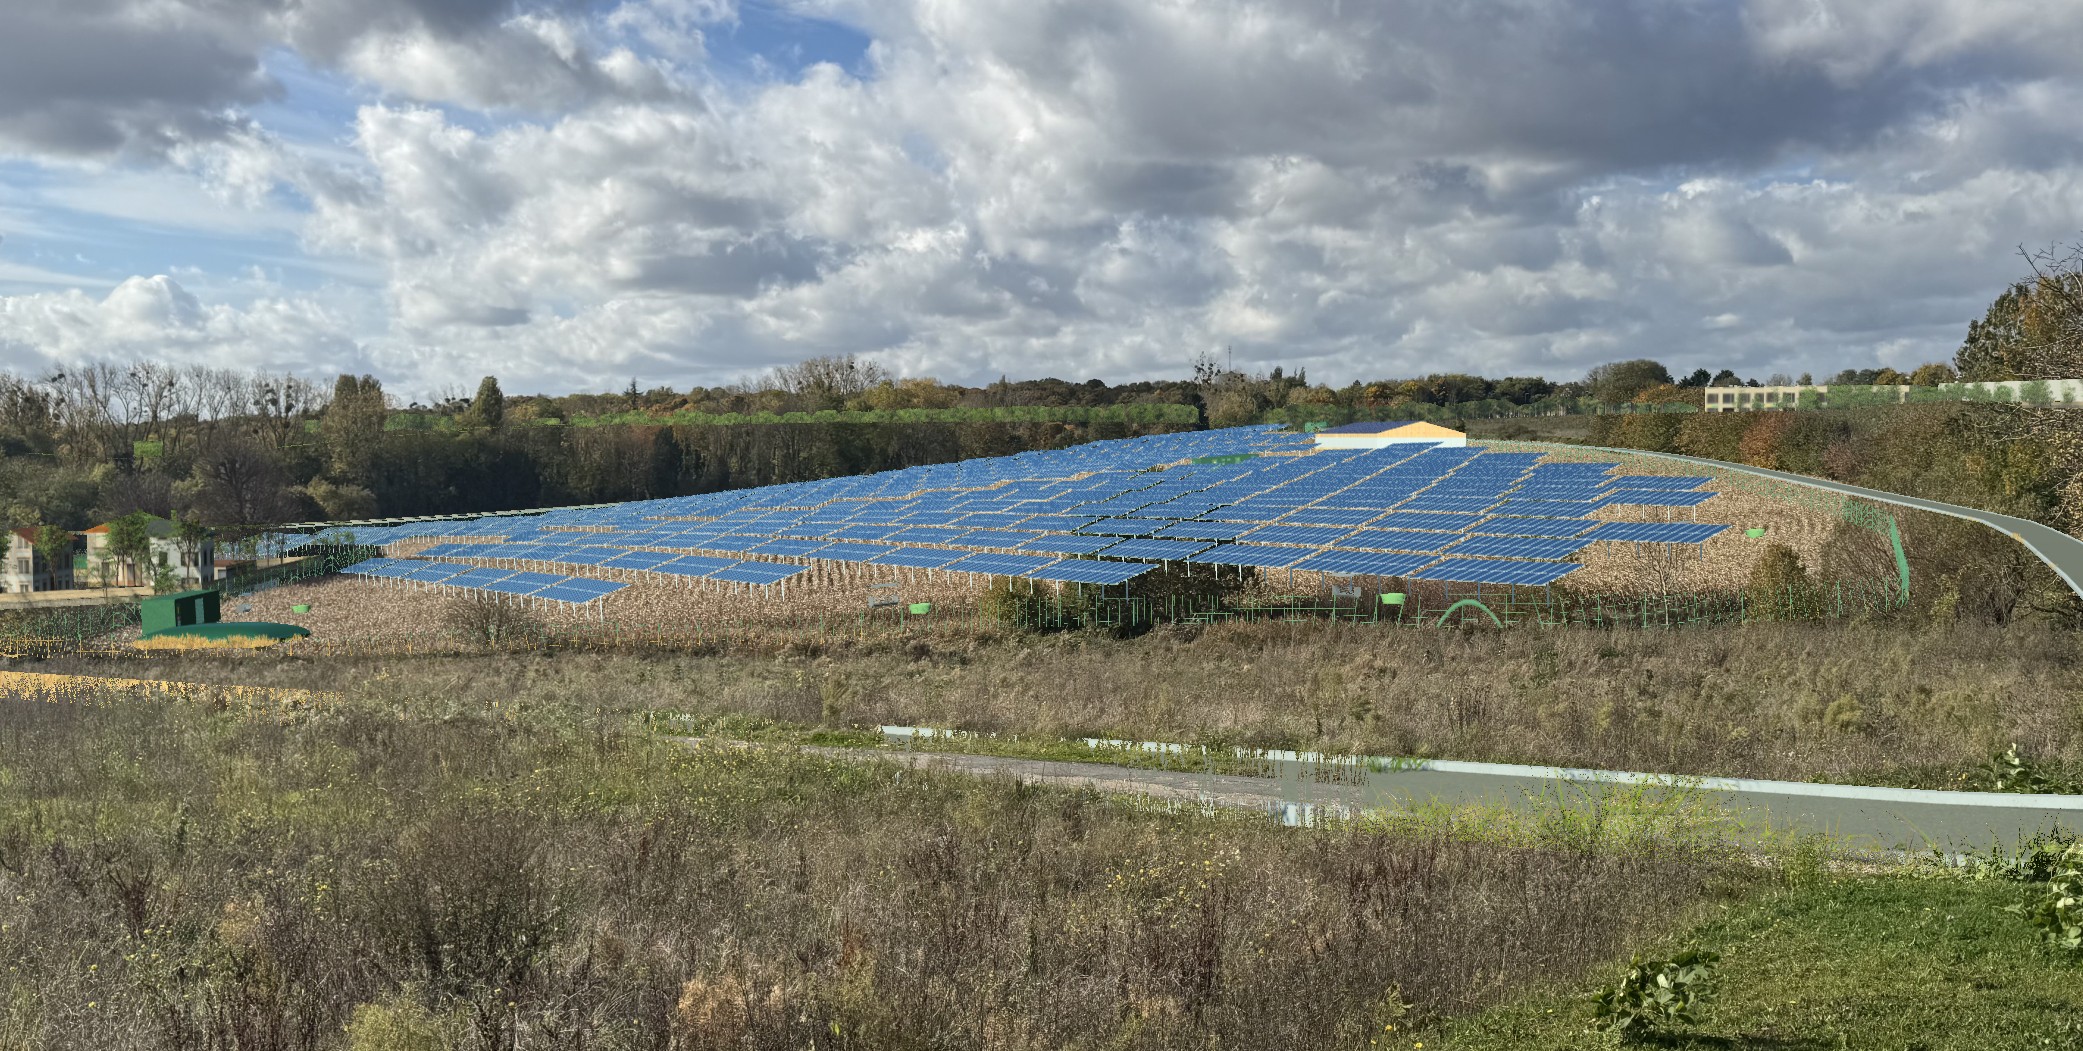
Here is the overlay image with "Opacity" on max :

Here is the "Geometry mask" preview, directly in the NDunes 3D scene :
And here is the "Plant mask" preview, directly in the NDunes 3D scene :

Note:
For masks, it is important to have the FSAA set to 1. Any value higher than one will make the masks preview option unavailable. For more info about the FSAA, please refer to the Anti-aliasing.
Using Suns
For the photomontage workflow, it is advised to use one "Sun" per camera, because of the nature of this workflow (positioning of the cameras, time of photos, etc...).
In order to assign the corresponding "Sun" to each camera, you will need to use the "Timeline" and the "Render batch".
- After finding a Sun position, save it.
- Add the Sun to your Timeline (no need to add cameras for 2D images to the Timeline).
- Open the Render batch and put the "Timeline time" in the "Timestamp" part to the corresponding time where the corresponding Sun is in the Timeline.

On the left, you have the Render batch with the correct Timestamp configuration. The camera "POV_1" is set to 0 seconds and the camera "POV_2" is set to 20 seconds. On the right you see the Timeline.
Note:
For more information on the "Sun" feature, please refer to the The sun tool page. For more info about the Timeline, please refer to the The timeline page.
Tone mapping
You can always use "Tone mapping" to tweak a bit the visuals of the global NDunes scene.
Here is an example of some color, saturation and brightness adjustment using the "Tone mapping" feature.
Note:
For more info about Tone mapping, please refer to the Tonemapping page.
 |  |
